Lighting Essentials: Must-Have Equipment for Every Photographer

- July 17, 2023
Whether you are doing a luxury product or lifestyle photoshoot, lighting is the key to producing picture-perfect images. While hacks such as lamps, bulbs, or natural lighting can work, they are limiting because you don’t have much control over them. A simple and effective solution for the best product photoshoot? Studio lighting!
If you feel studio lighting is too intimidating, you’re not alone—many photographers share the same story. But it’s a challenge worth embracing to upgrade your photography game. To help you get started, The G Story has prepared a complete lighting 101 guide!
Different types of studio lighting
The first step is determining what lighting is best for your photo production house. There are two main types of light to choose from—continuous lighting and flash lighting.
Continuous Lighting
Continuous lighting, as the name implies, can remain on throughout the entire duration of the luxury product photoshoot. The various lighting bulbs include fluorescent bulbs, tungsten bulbs, and the more popular option these days—LED panels. Besides being easier on the pockets, continuous lighting is a preferred choice for many beginners as it is relatively user-friendly.
Pros of Continuous Lighting
- It allows you to see the lighting effect on your subject and background in real-time, making it easier to adjust and fine-tune the setup before you start taking photographs.
- It lets you manually adjust the lighting’s color, intensity, and direction.
- Easier for videography.
Cons of Continuous Lighting
- Heats up quickly (except LED lights).
- It uses more power and may wear out quickly.
- Produces less powerful light
Flash Lighting
Strobes, monolights, and speed lights are all flash lighting that syncs with your camera and emits a brief, intense burst of light upon pressing the shutter button.
Pros of Flash Lighting
- Effective for freezing action without motion blur.
- Produces more powerful light.
- Highly energy-efficient and durable
Cons of Flash Lighting
It does not allow you to see how light will influence your subject and background until you capture an image, so it can take a few trials and errors to get the desired shot
Challenging for videography
Need more assistance? Schedule a call with The G Story, Mumbai’s leading photo production house.
Lighting modifiers we swear by
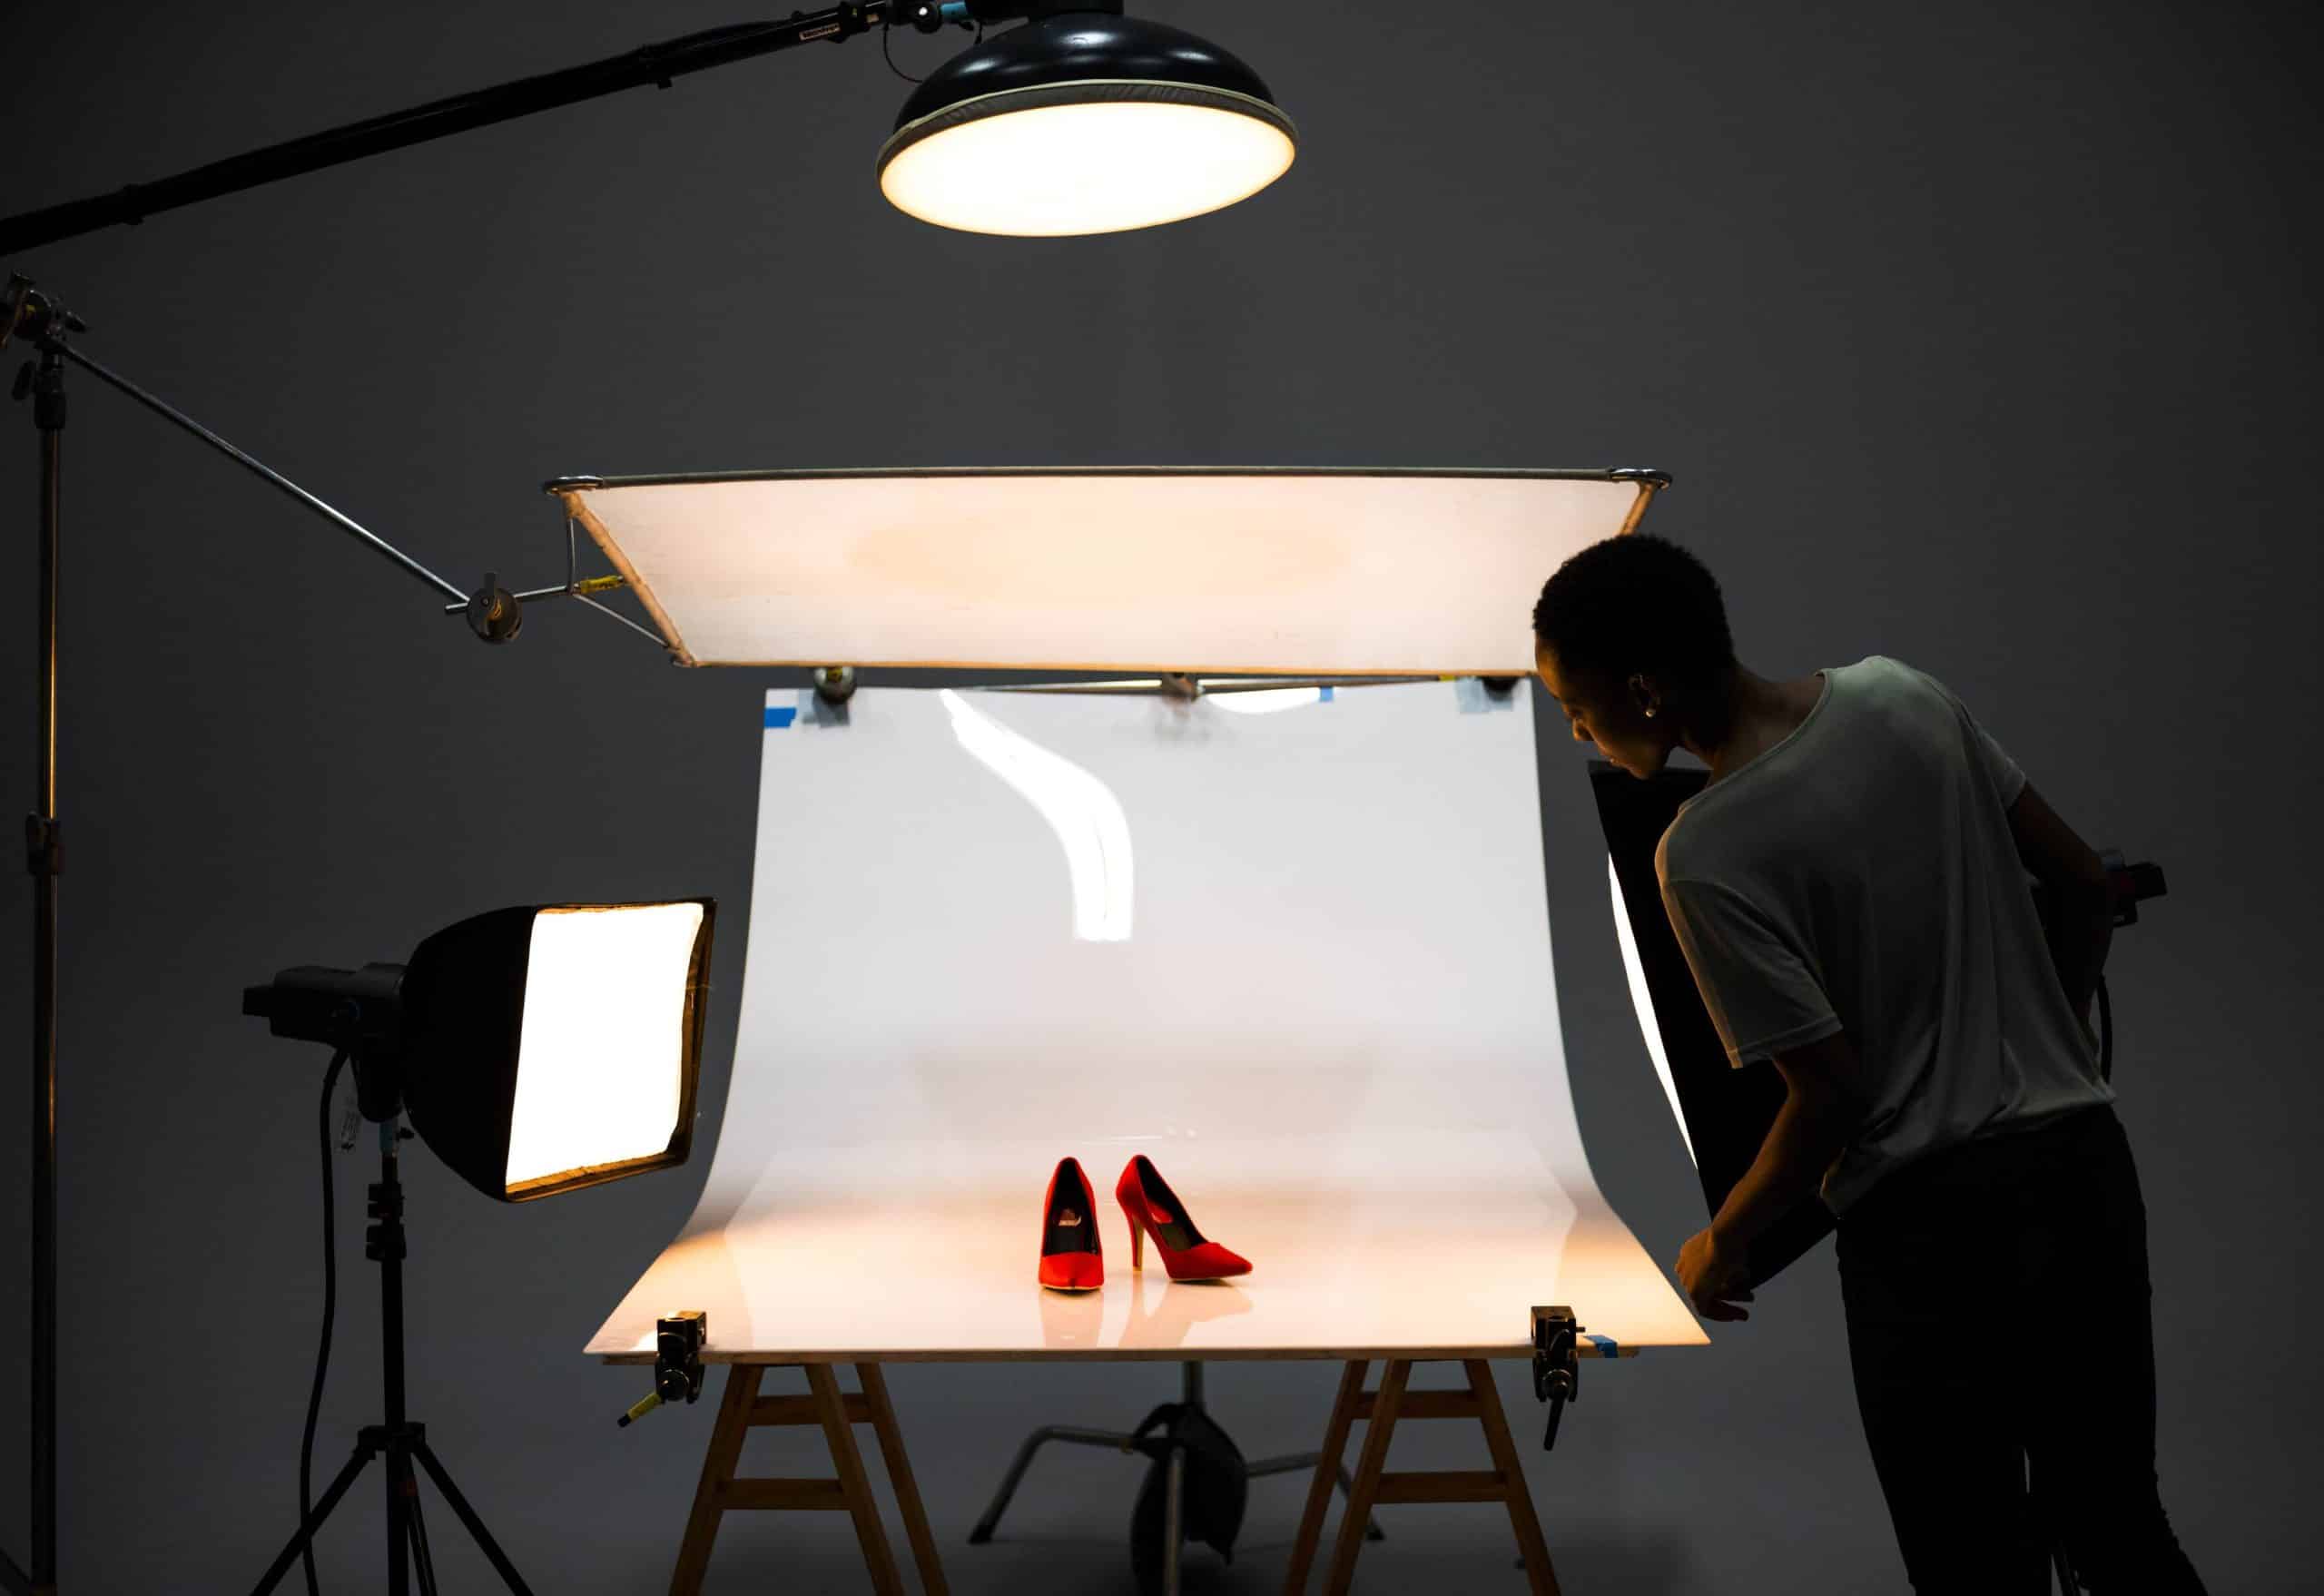
Lighting modifiers are tools placed before the light to shape, soften, diffuse, or redirect the light to achieve specific lighting effects. Here are some of our all-time favorites:
- Softbox: A square or rectangular-shaped enclosure can be attached to the studio light to produce a soft, diffused lighting effect. For instance, it can soften the harsh shadows and reduce glare during a luxury product photo shoot, especially when capturing reflective items like perfumes or wine bottles.
- Shoot-through umbrella: Imagine a white translucent fabric umbrella mounted on your light stand. It is helpful to diffuse soft light over a wide area and reduce shadows.
- Beauty dish: A circular, bowl-shaped light modifier commonly used to create a focused light with soft shadows and highlights. True to its name, this modifier works wonders for portrait, beauty, and fashion photography.
- Snoot: Consider investing in this tube-shaped tool if your photo production house is into food photography! It creates a focused, narrow beam of light that can help you make a spotlight on your subject, add highlights to specific areas, or light up a background.
- Reflectors: They consist of a reflective surface, usually made of silver, gold, white, or translucent fabric, that can help redirect or bounce light onto the subject or scene. You can rely on reflectors for lifestyle photoshoots often conducted on-location or in outdoor settings, as they are lightweight, foldable, and portable.
Carry out the best product photoshoot today!
Lighting in photography is a vast ocean; mastering it can take enough time and effort. There’s no other way to learn it than by trying it yourself, and for that, there is plenty of budget-friendly equipment available. Check out The G Story’s product photography portfolio if you need more inspiration.
